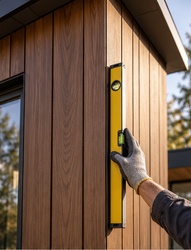
Composite boards are an optimal solution for your facade. There are many reasons: they are durable, do not require annual painting, are easy to maintain, and look natural and beautiful.
However, their longevity depends not only on the material but also on the installation. Most problems (bending, sagging boards, gaps, cracks near fasteners) arise not from product defects but from violations of installation technology.
Below, we will discuss the most common mistakes using the Legro facade system (FS 15 and FS 21) as an example.
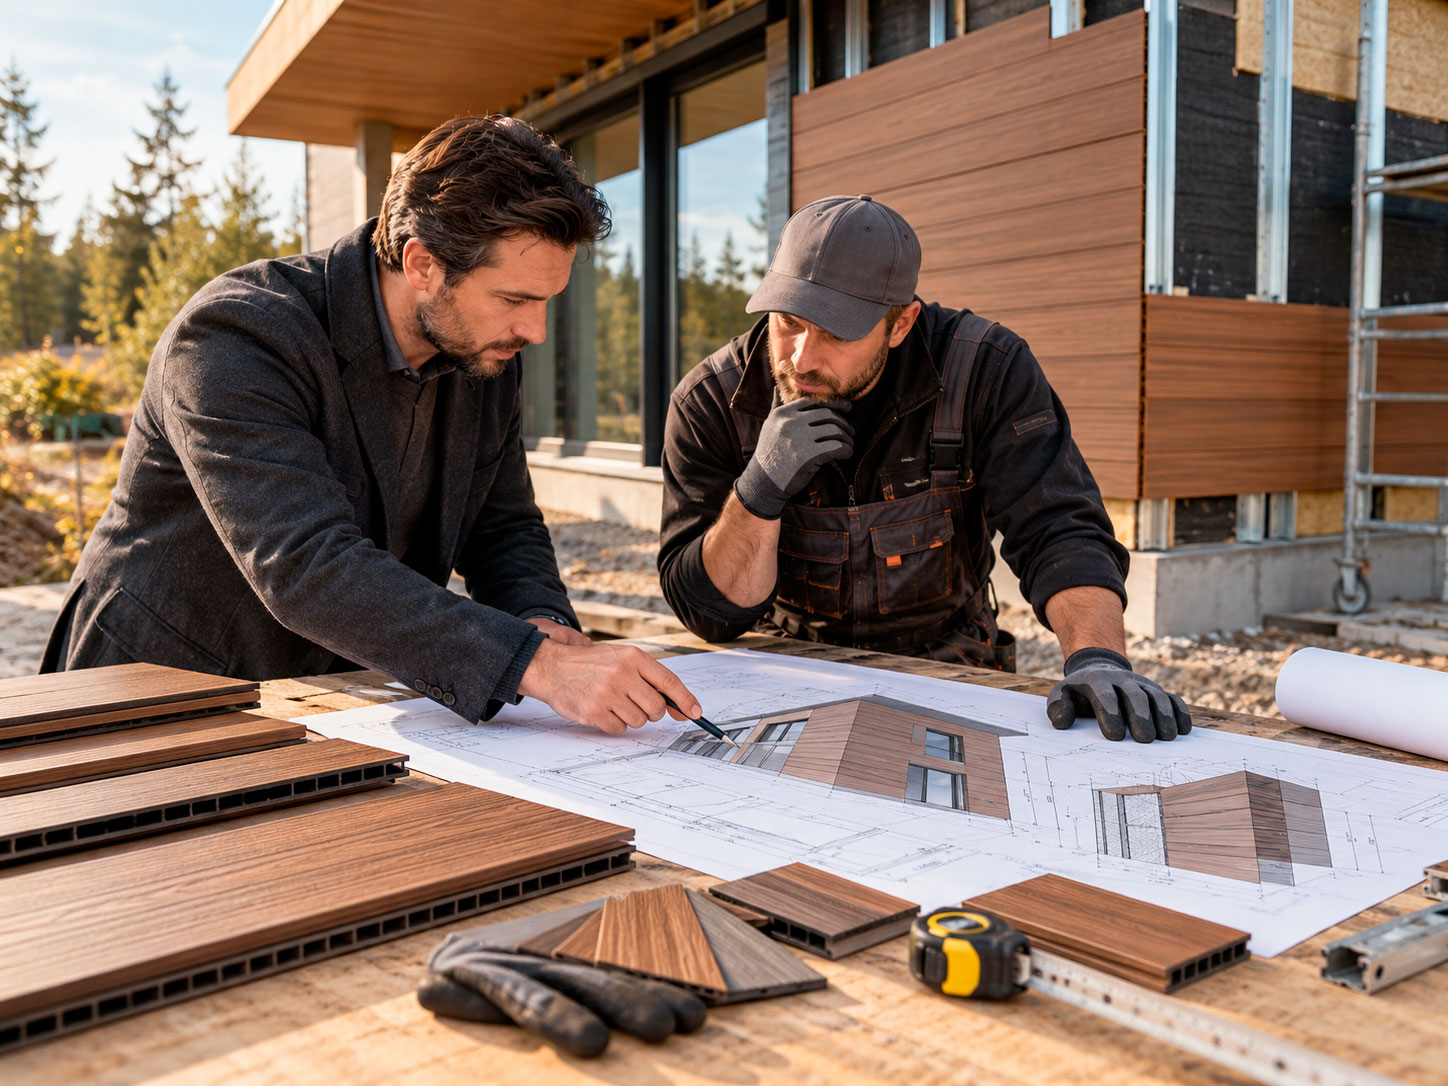
1. Installation Without a Project Plan and Verification of Local Regulations
Installing a facade “by eye” almost always ends in disappointment: additional cutting, mismatched corners, and a shortage of components. Facade board manufacturers with years of experience and an established reputation recommend preparing a detailed project with plans and cross-sections of the future structures before starting work. It is also important to check local building regulations and familiarize yourself with the country’s standards.
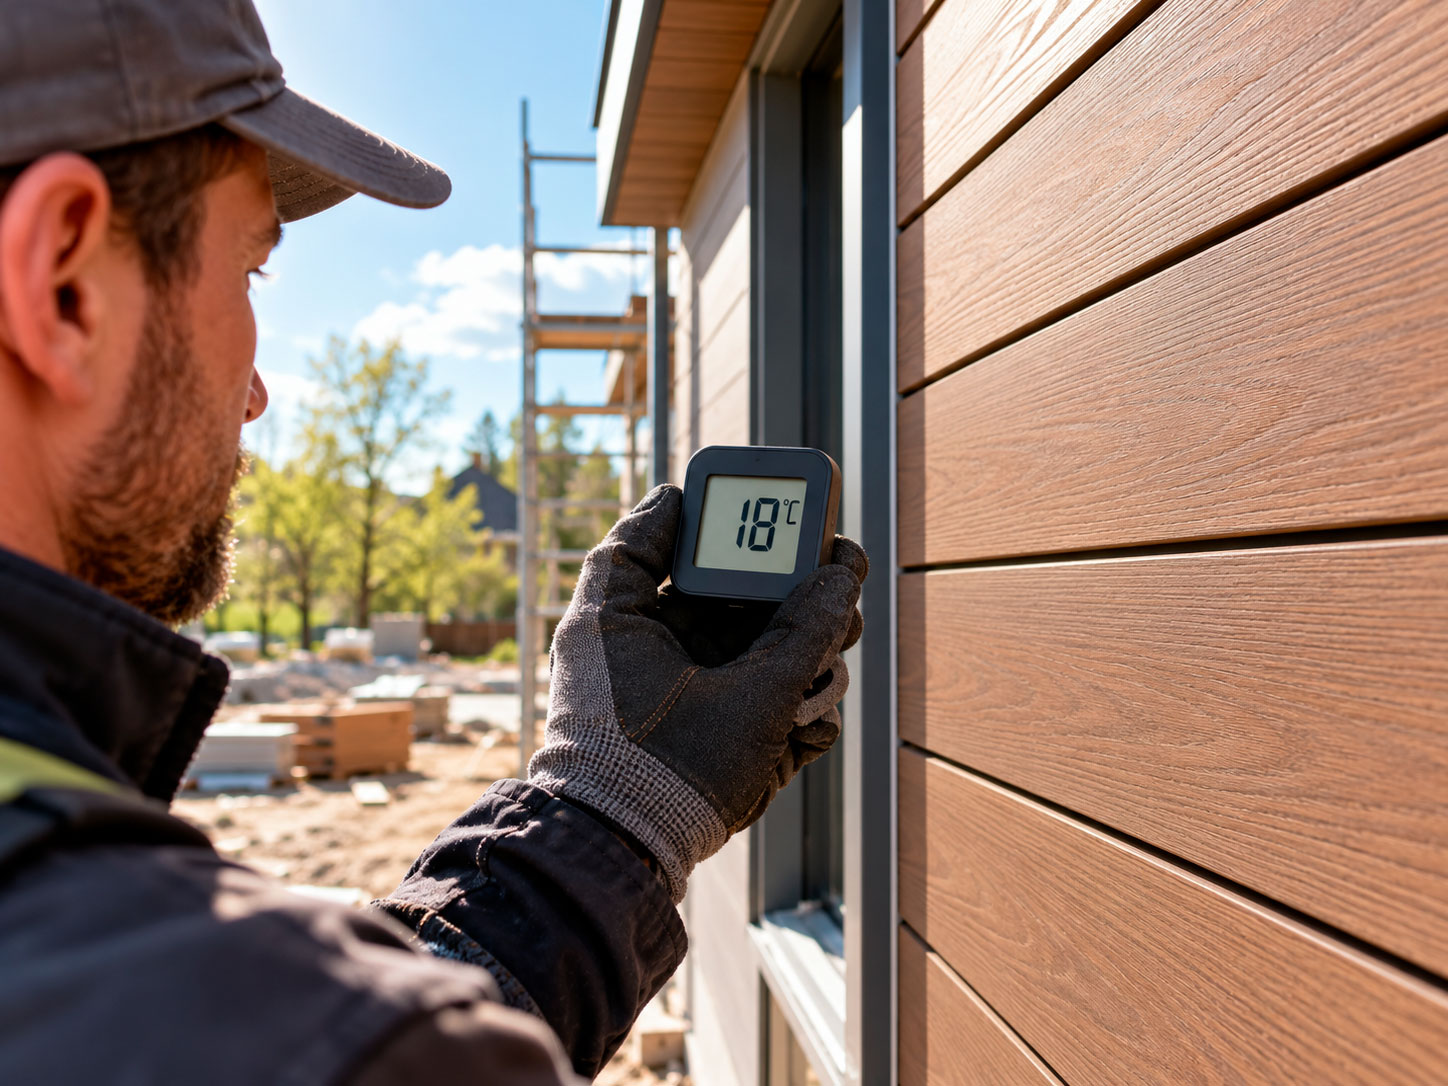
2. Installation Without Considering Temperature Fluctuations
Composite expands and contracts depending on temperature, so the dimensions of the gaps are calculated for a specific temperature range. The recommended air temperature during installation is between +5 and +28 °C. Working in winter or extreme heat increases the risk that the gaps will eventually become too small or too large. This will significantly affect the entire facade structure during use.
3. Incorrect Choice of Substructure Fastening
The method of fastening the supporting profile depends on the wall:
- Without insulation or with insulation less than 100 mm thick — a nail-in anchor or concrete screw;
- With insulation of 100 mm or more — a facade bracket.
It is also important that the working part of the fastener penetrates at least 50 mm into the wall base. Using short fasteners on a wall that “looks strong” is a typical cause of substructure loosening.
4. Excessive Substructure Spacing and Unsuitable Material
The distance between the axes of the supporting profiles must not exceed 500 mm, and the profile itself must be made of moisture-resistant material. Increased spacing leads to board deflection between supports, while a substructure that is not resistant to moisture may deteriorate faster than the facade itself.
5. Drilling the Supporting Profile
Holes must be drilled in the facade profile: they should be 2 mm larger than the screw diameter (for the AC 20 corner profile, AC 10 starter profile, and the central screw). The supporting profile must not be drilled. An enlarged hole in the board allows the material to “move” when the temperature changes. A rigidly fixed board may deform or crack.
6. Absence of Ventilation and Expansion Gaps
This is one of the most serious installation mistakes. Without gaps, the board presses against adjacent elements and is pushed out of position.
Manufacturer’s requirements:
- Between the lower and upper edges of the facade, as well as between the ends of each profile and the building structures — a gap of at least 10 mm (for ventilation and linear expansion);
- For horizontal installation, the AC 10 starter profile must be positioned 10 mm above the ground;
- Between the ends of adjoining profiles — a gap of at least 5 mm;
- For horizontal installation at corners with a 45° cut — a 2 mm gap between profiles.
7. Additional Fastening in the Center of the Profile
For vertical installation, a screw must be inserted into the center of each profile — it prevents the board from sagging and provides additional support. Please note: before doing this, a hole must be drilled in the board that is 2 mm larger than the screw diameter (a 4×25 screw is used).
8. Incorrect End-to-End Connections and Cutting Strips That Are Too Narrow
When two ends of facade profiles meet, there must be two supporting profiles underneath them. Each end is attached to a separate profile using a separate clip.
The edge of the profile must not extend more than 20 mm beyond the supporting batten.
A cut board (for example, before an internal corner) must not be narrower than 70 mm so that at least one screw fixing point remains. Cutting is permitted only from the rib side, not from the locking side.
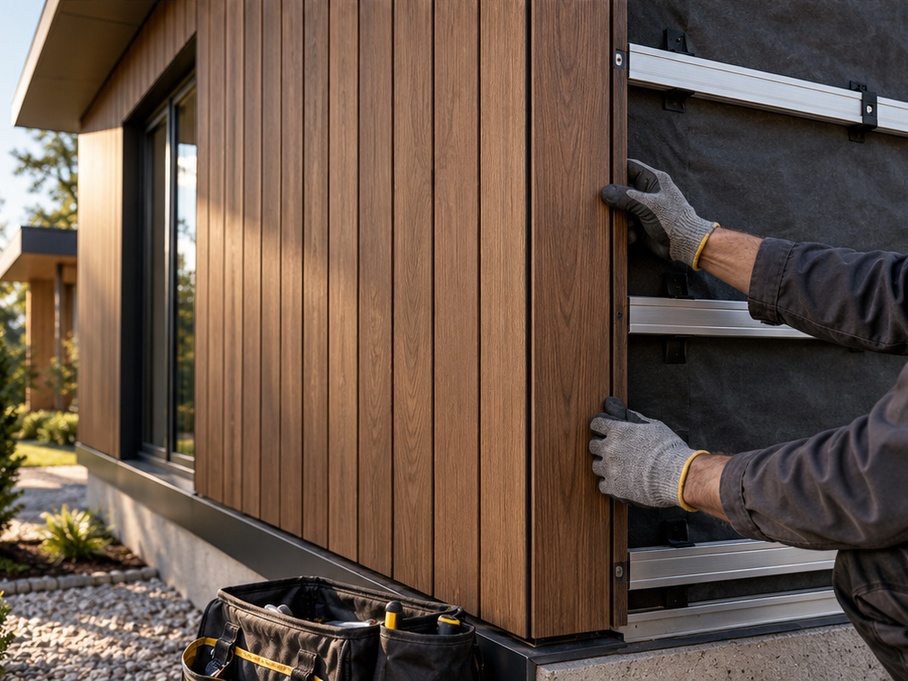
9. Poor Workmanship at Corners and Openings
Typical mistakes include using different fastening methods at adjacent corners, incorrect cutting angles, and attempting to force the board into place.
Legro recommends the following:
- Start vertical installation from an external corner: check the AC 20 corner profile using a spirit level or plumb line;
- The internal corner is completed last, and each edge is attached to a separate supporting profile;
- It is convenient to start installation from window and door reveals using the AC 10 starter profile;
- At external and internal corners during horizontal installation, the board is cut at a 45° angle;
- To align the entire surface in a single plane, an additional clip fixed to the supporting profile is used.
10. Incorrect Assumptions About the Material and the Base
- Facade boards must not be installed over an existing facade;
- Facade profiles are not load-bearing structures and therefore must not be used for this purpose;
- WPC can be processed using standard woodworking tools, but it is better to use carbide-tipped blades and saw discs with the maximum number of teeth. Blunt tools leave rough, torn cuts;
- System components (AC 10 starter profile, AC 20 corner profile, clips, AS 80/AS 180 plinth profiles, aluminum profile) are designed to work together, so they should not be replaced with “alternatives”. Doing so disrupts the geometry and gaps.
WPC facade boards are easy to maintain, strong, durable, and very beautiful. However, like any other high-quality material, they require precise compliance with installation technology.
The main rules are: maintain the required gaps, do not rigidly clamp the material, construct the substructure correctly, and use original components. This will preserve the appearance of the facade for years and ensure that the manufacturer’s warranty (up to 25 years) remains valid.
The complete Legro installation instructions, diagrams, and drawings can be downloaded from the “For Architects” section of the WOODPLAST website.